How To Train Your Back At Home?

We all know how to train our chest at home. We can spam push-ups almost anywhere with minimal equipment.
Push-ups can be scaled down so that even beginners can perform them. Likewise, there are different variations we can do to make push-ups harder. So that they continue to provide a stimulus as we become more advanced. However, doing too many push-ups can lead to muscle imbalances, injured shoulders, and an unbalanced physique.
So what can we do to strengthen our back and balance out all of those push-ups?
One great exercise is rowing. Rows, however, are not as simple as push-ups. We almost always need some form of equipment to be able to row, but we don’t need quite as much equipment as we might think.
Let’s see what our options are.
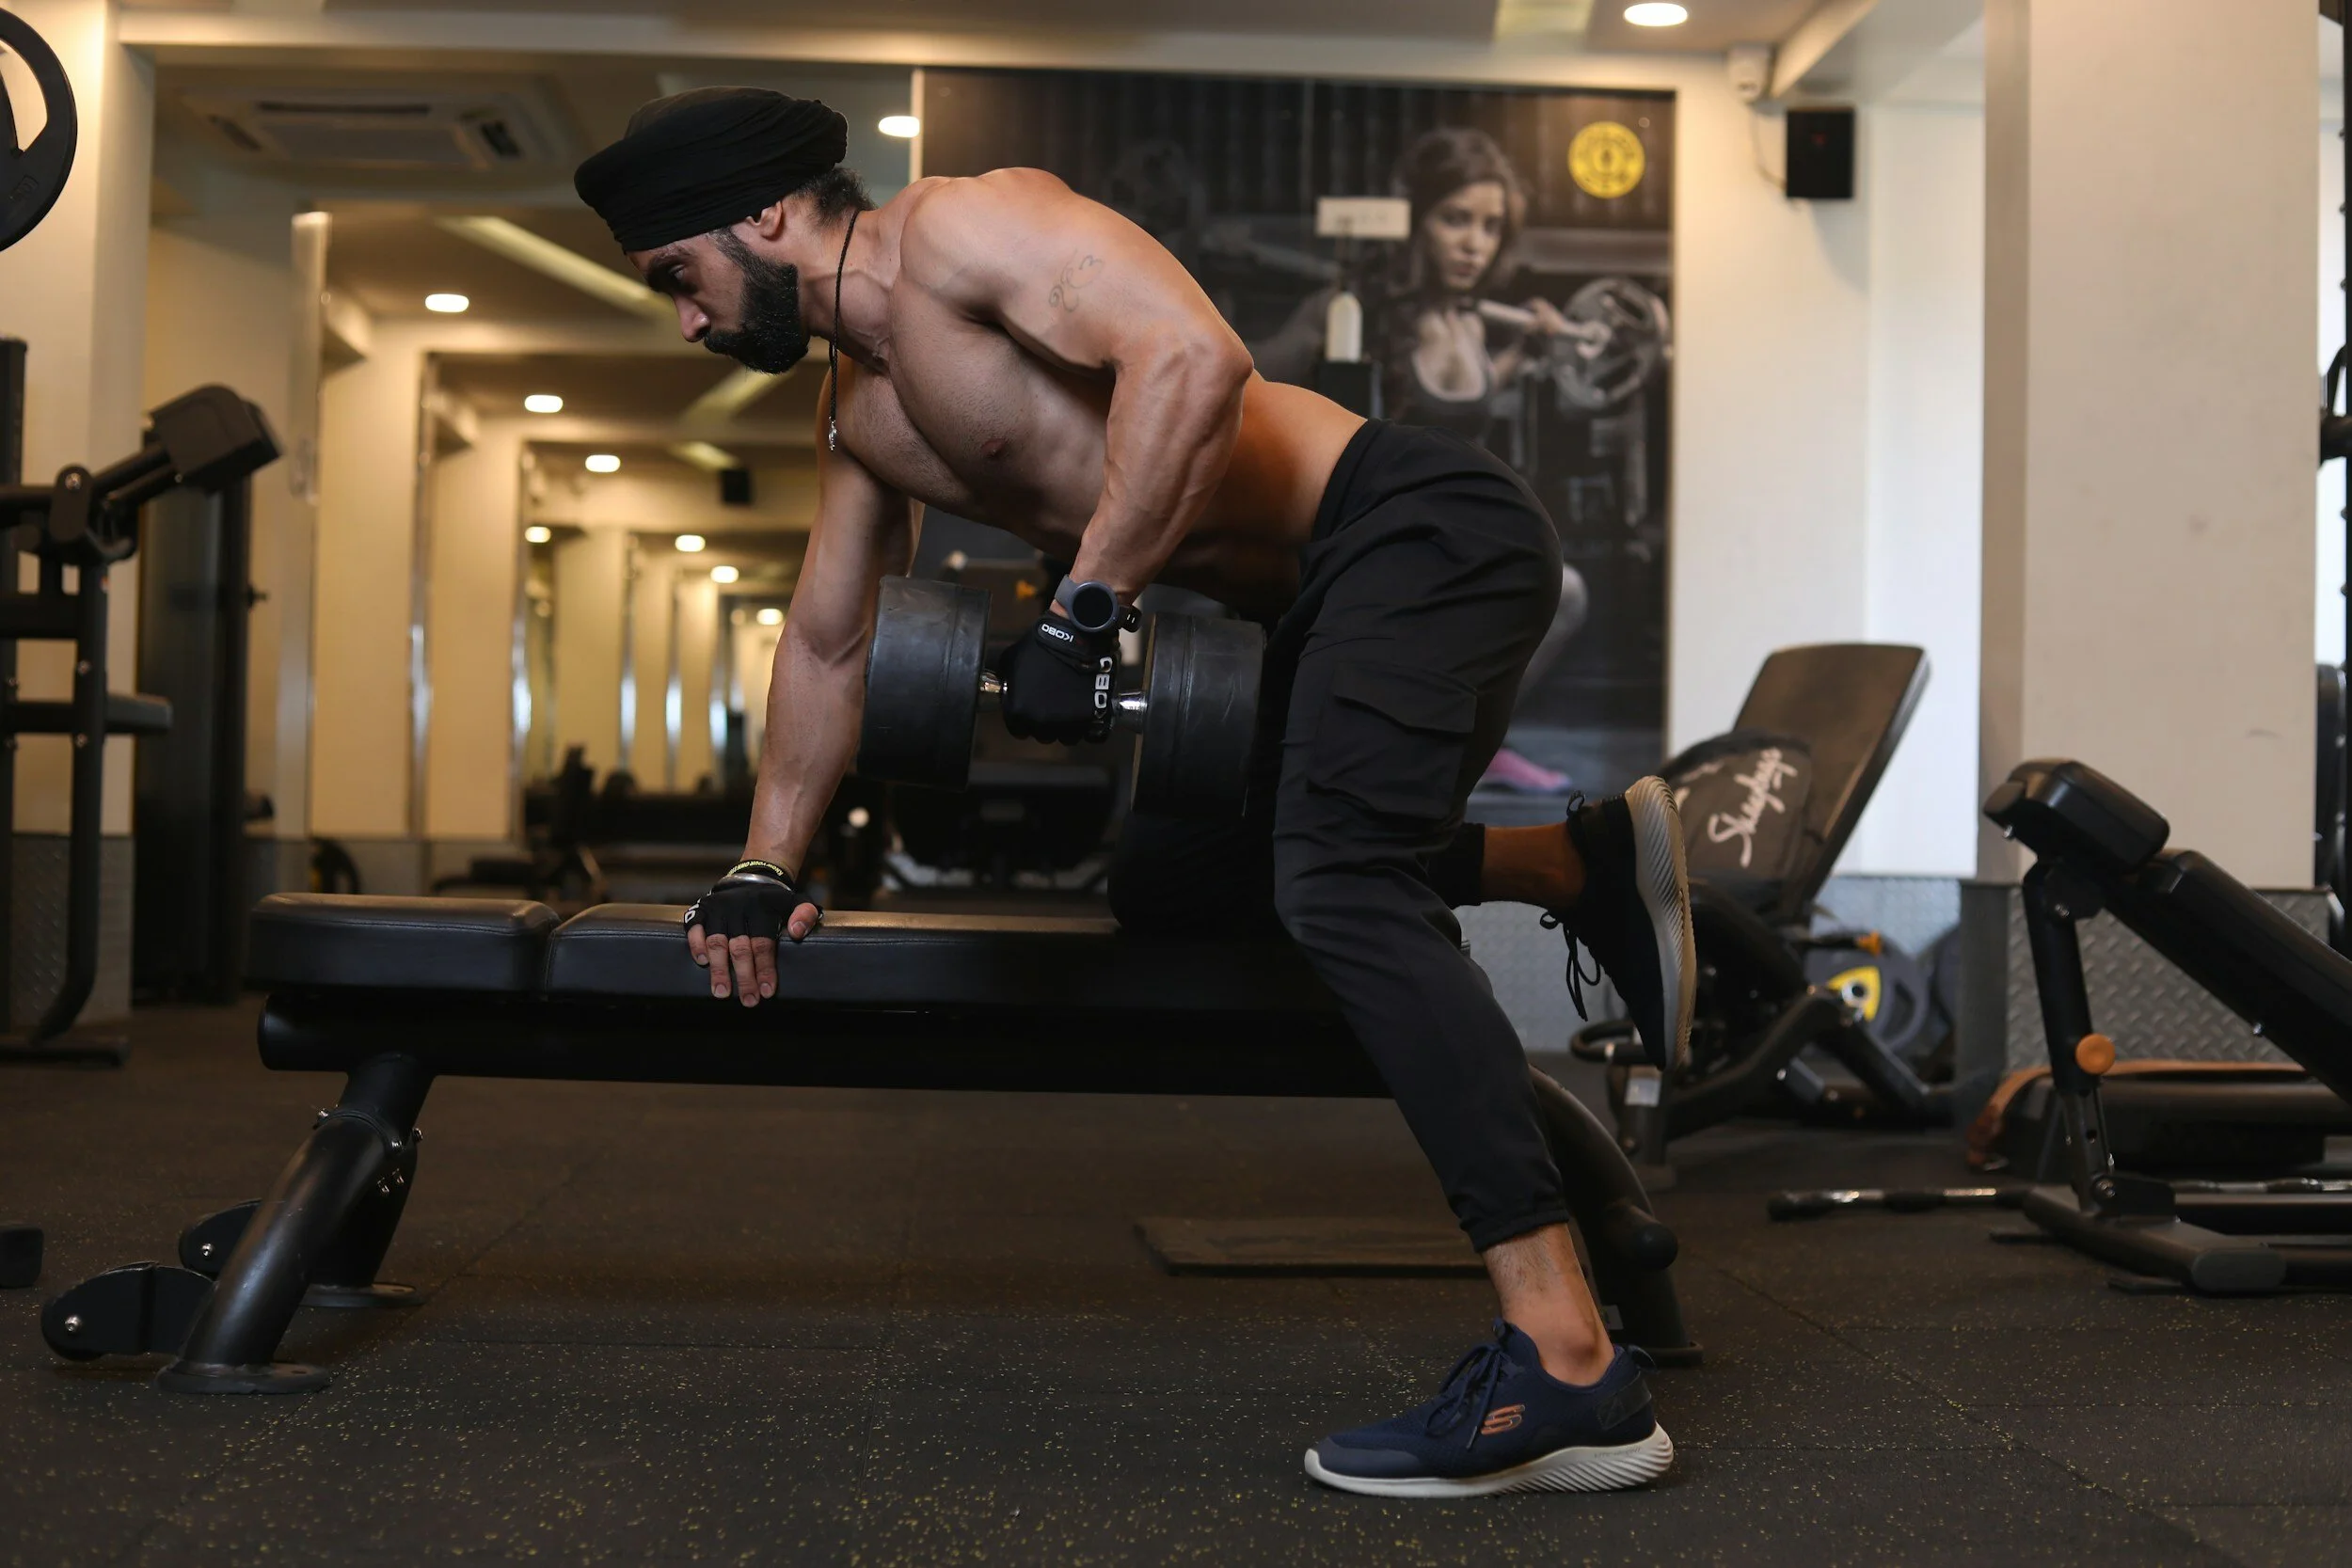
Our first option would be the dumbbell row.
This is a solid option because it allows you to completely control the intensity, as you can just buy whatever weight challenges you. You can also use those dumbbells for many other exercises.
Sadly, this is the most expensive option, as you will have to continue to buy weight, and at approximately $1/lb, the expense starts to stack up.
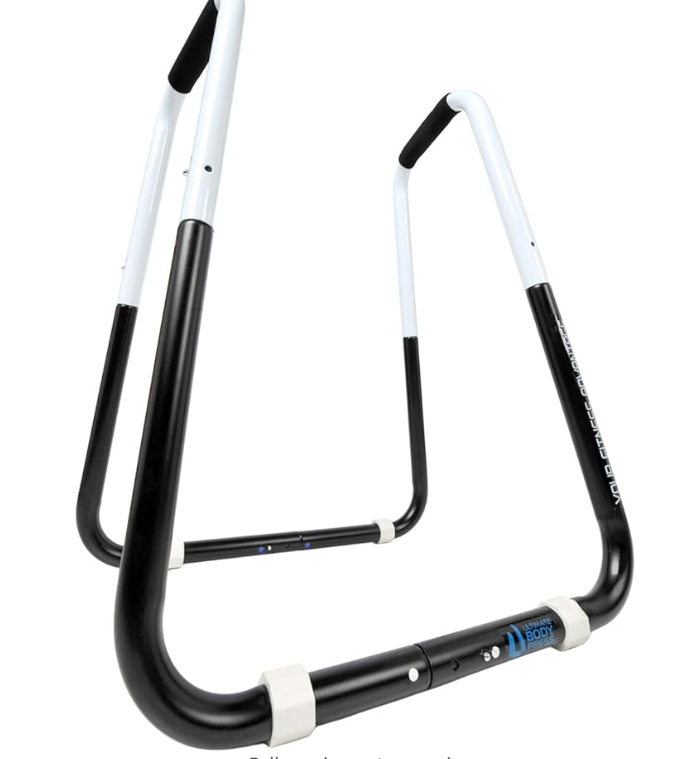
Next, you could buy a dip/rowing station. This is a great option because it allows you to do other exercises, like dips, L-Sits, and other gymnast shenanigans.
This also allows you to scale the difficulty of the row by letting you perform a table row, where your legs help support you. Since these tend to be sturdy, you shouldn’t have any problems adding weight by wearing a backpack full of heavy items. This might cost $60-$90.
You could grab a backpack or a duffle bag and fill it with books or other objects until you hit an appropriate weight. If you have a strong bag on hand, this may be the best option until inflation chills out. It’s also easy to scale with the main limit being the strength of your bag.
You can also perform a bodyweight row, done with two chairs and a strong stick. More than likely this is the free option. This can be scaled into a table row, just like with the dip bars. However, the biggest problem is that you need a strong pair of chairs, and a strong broom or stick of some sort. Even if you find items that can support your weight, you may run into issues trying to add weight.
Another free option would be with bed sheets and a strong doorway. However, if you break your doorway, this option becomes very expensive. I’m not a fan of this option.
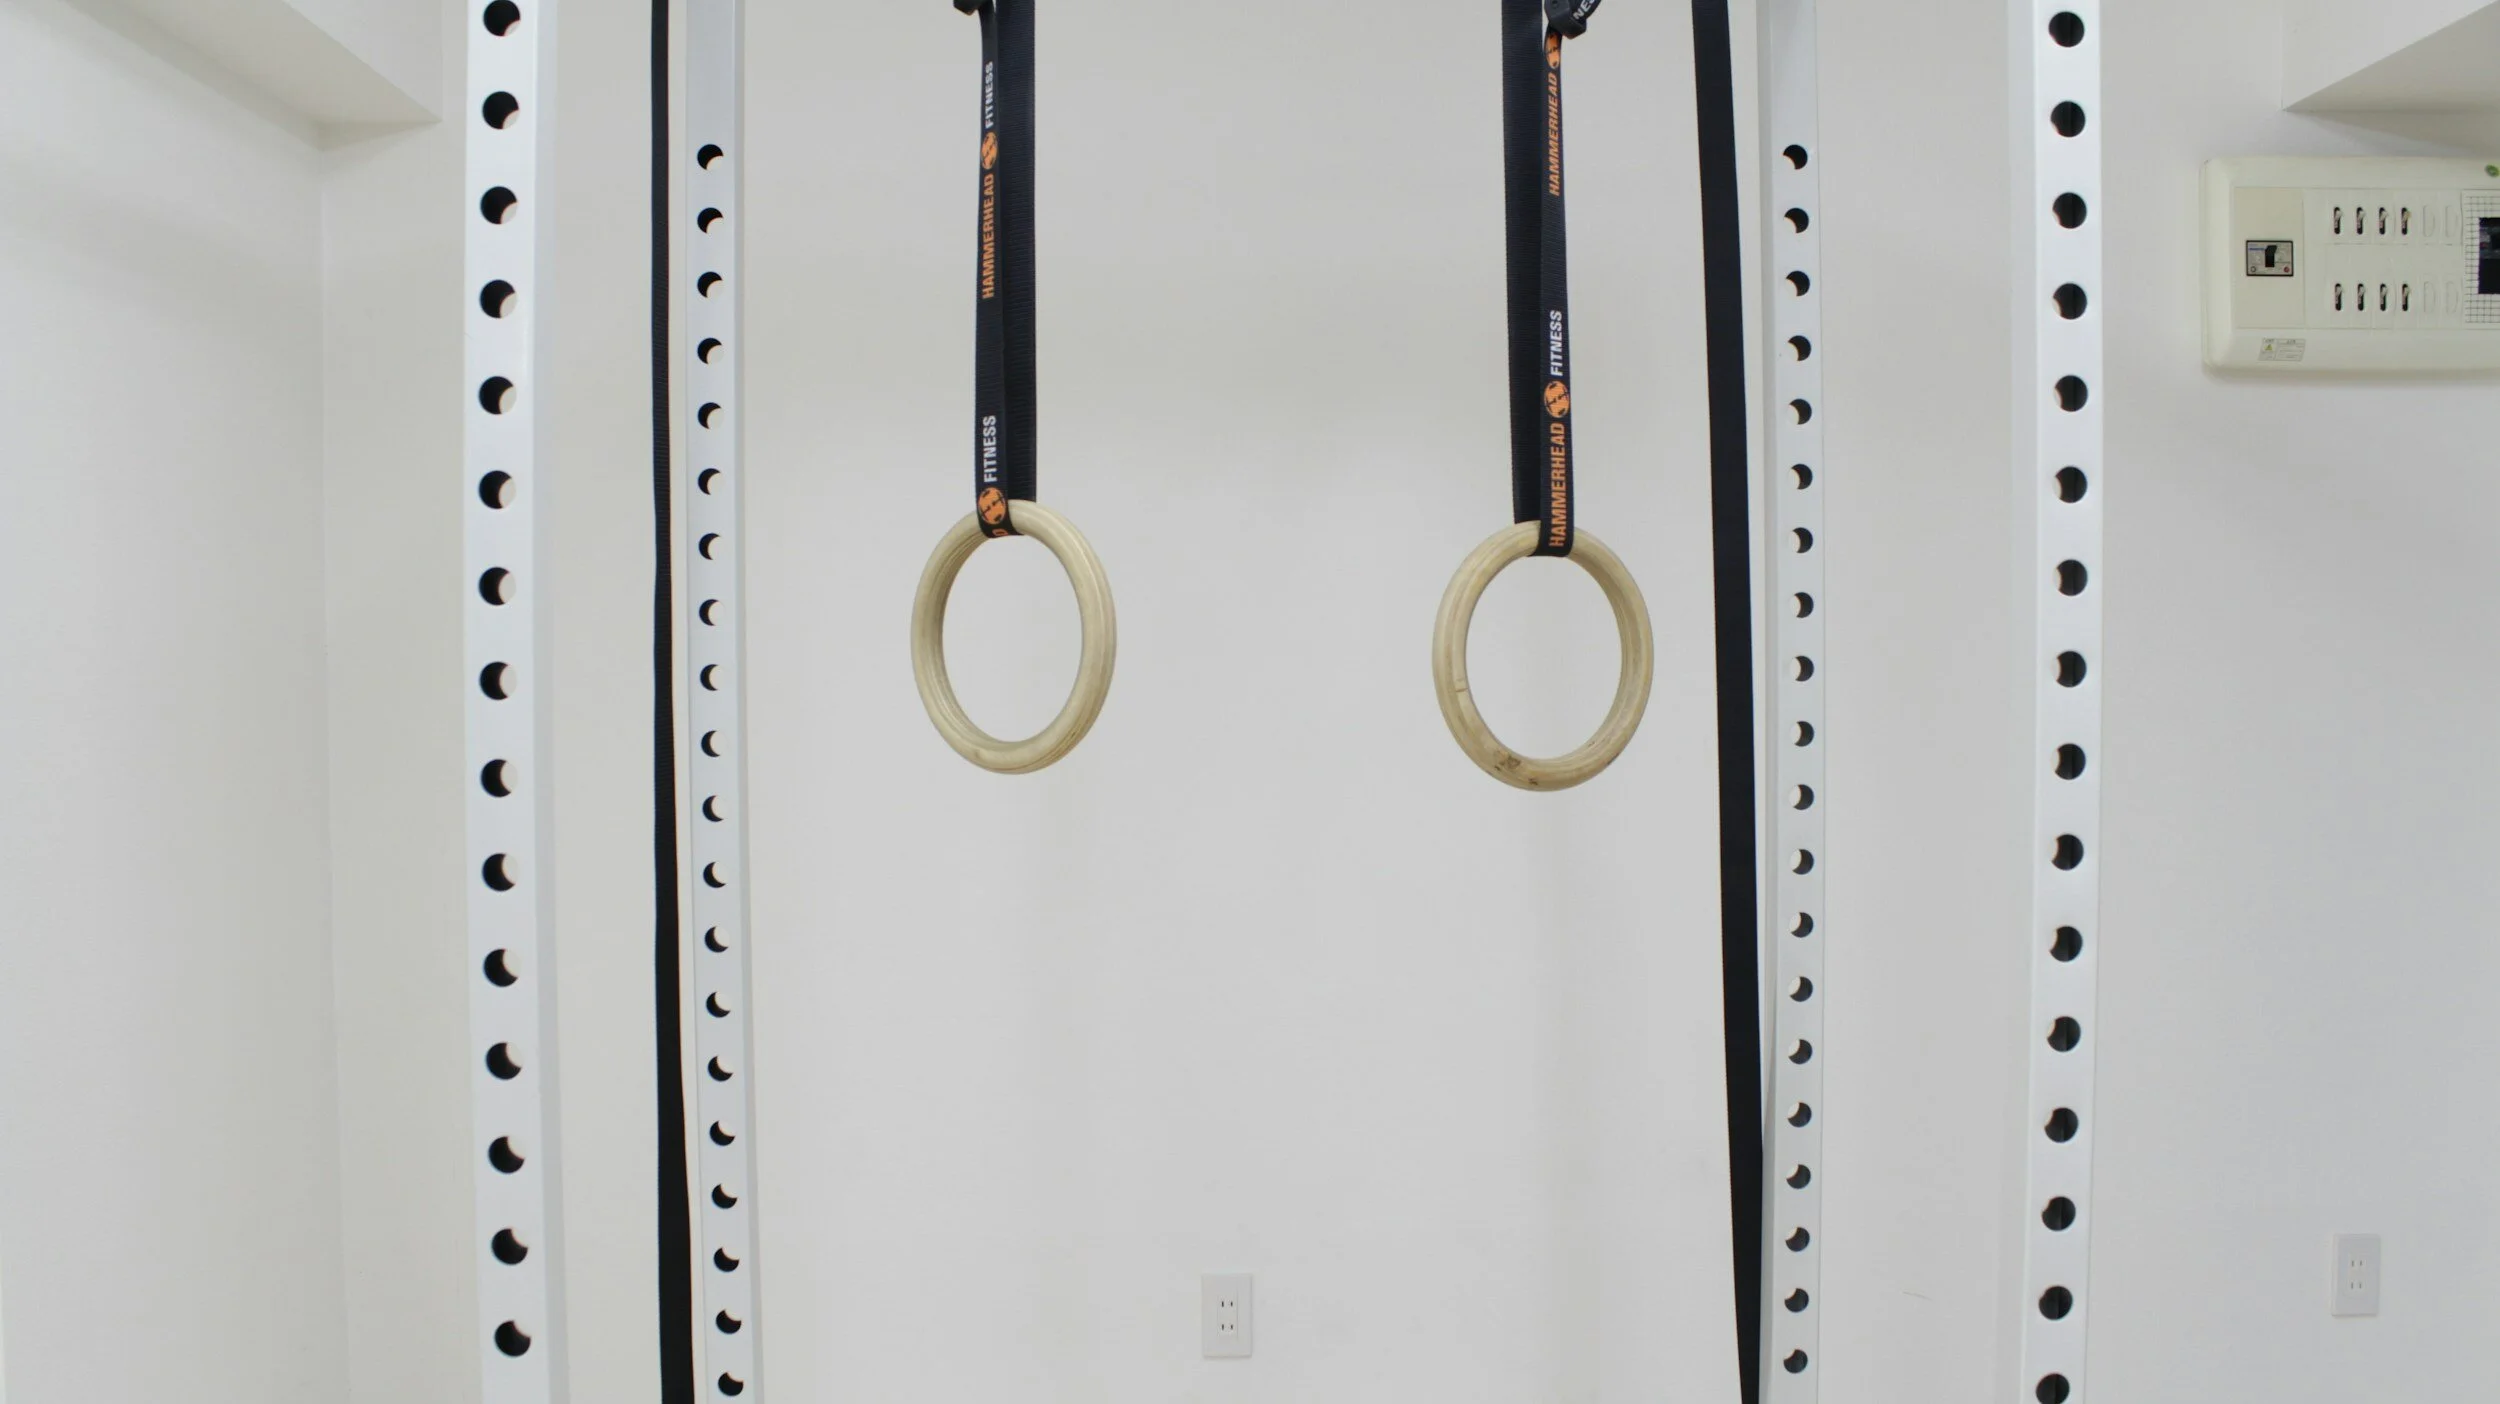
In my opinion, the best option would be a pull up bar and gymnastic ring combo.
This option may cost you anywhere from $60-$170 depending on how much your rings and pull-up bar cost. The rings give you full control over the difficulty of the exercise by allowing you to control the angle, and even perform one-arm variations.
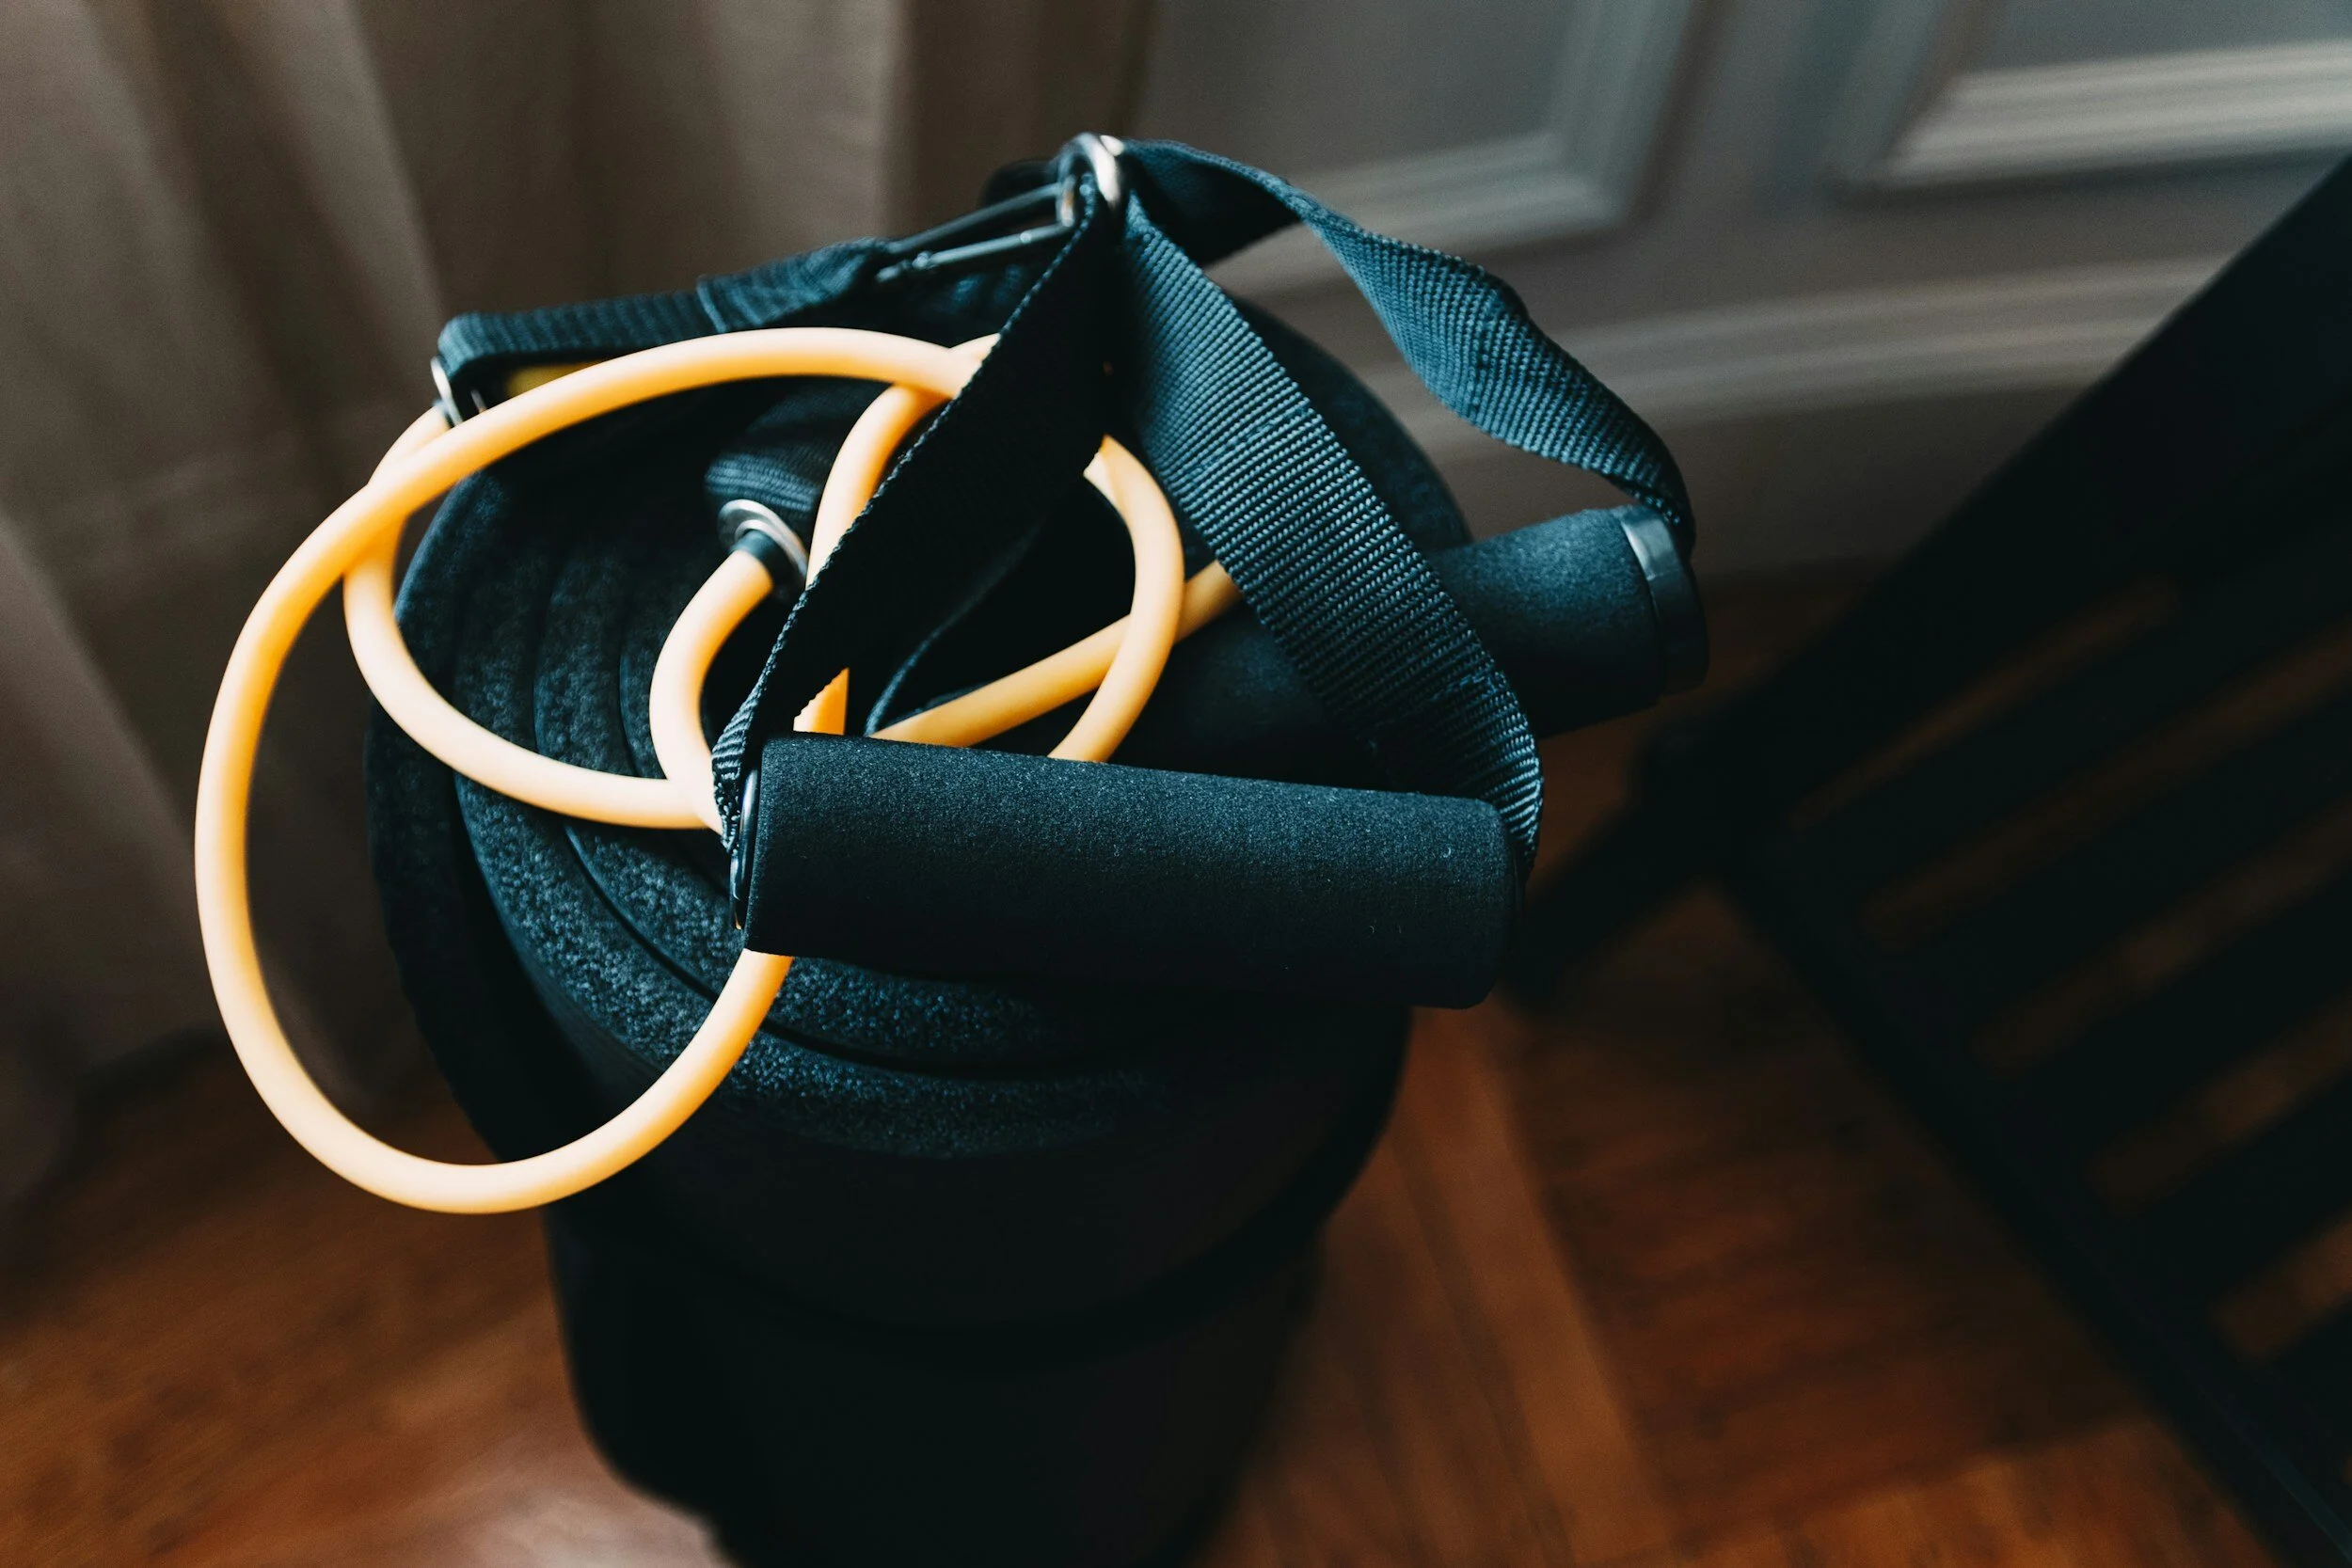
Finally, they can also be done with resistance bands. If you’re going with this option get the bands that have an accessory that anchors it to a door. I don’t love this option. In general, I’m not a huge fan of bands due to their resistance curve.
These can cost about $30-$40.
Whatever you choose, training your back at home is not going to be as easy, nor as cheap as training your chest. However, it is entirely possible. You do not need to get a gym membership to train your back at home. You just have to be a little bit more creative and make sure that the items in your home are very strong.
Soon, I’ll give some tips on how to train vertical pulling from home. In the meantime if you’re interested in custom programming, where I figure out these problems for you by taking into account what equipment you have access to, order one of my custom programs here!